How to take pictures of the Northern Lights in Iceland

For most of us seeing the Northern Lights in action is a magical experience. The enchanting dance of green, yellow and purple lights across the night sky is near indescribable. No wonder then that the Northern Lights are one of the most photographed natural phenomena in the world. We need pictures to be able to relive the magic whenever we want to. But the term “elusive” so often used in connection with the Aurora Borealis doesn’t just refer to the unpredictability of their appearance but also the difficulty in capturing them on film. Luckily there are photography experts who have gotten the art of it down to a T. Here are some of the best tips and tricks to help you get the best Northern Lights picture possible. But don’t forget to put the camera away at some point and just enjoy the show!
Planning
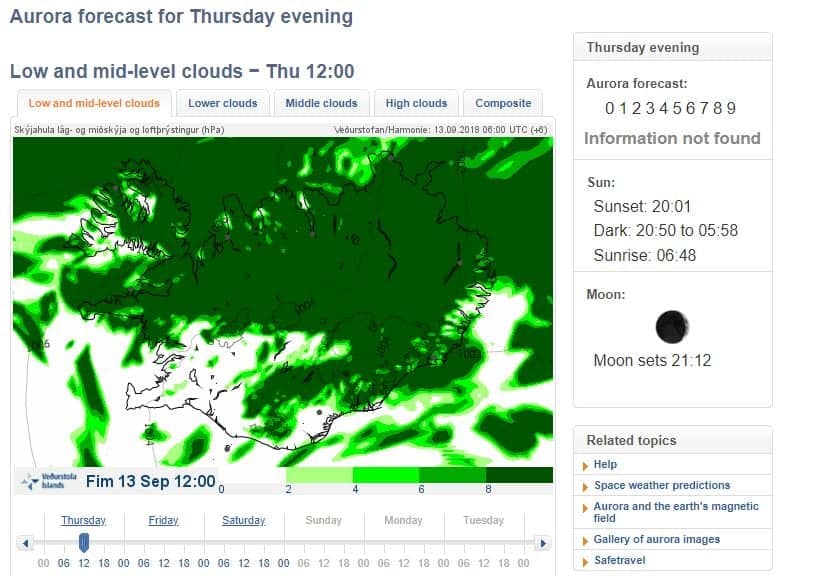
The first and maybe the most important step in catching the perfect photo of the Northern Lights is the planning process. Start by finding the perfect guide to the Northern lights. Thant way you can read and learn about how they work and when, where and how to see them. Nothing is guaranteed but with a little bit of luck everything is possible. The next step will be checking the Aurora activity on the day you are planning to hunt for the Northern Lights and shooting them. Icelandic met office provides some great northern lights forecast where you can stay updated at all times, they also provide an outlook on the forecast a few days in ahead of time. When checking the forecast, you will want to look at the KP-Index on the sight that ranges from 0-9 with 0 being low aurora activity and 9 being the highest. If the forecast indicates 4 or higher it is said to be relatively high possibility to see them so that will be your change.
Environment
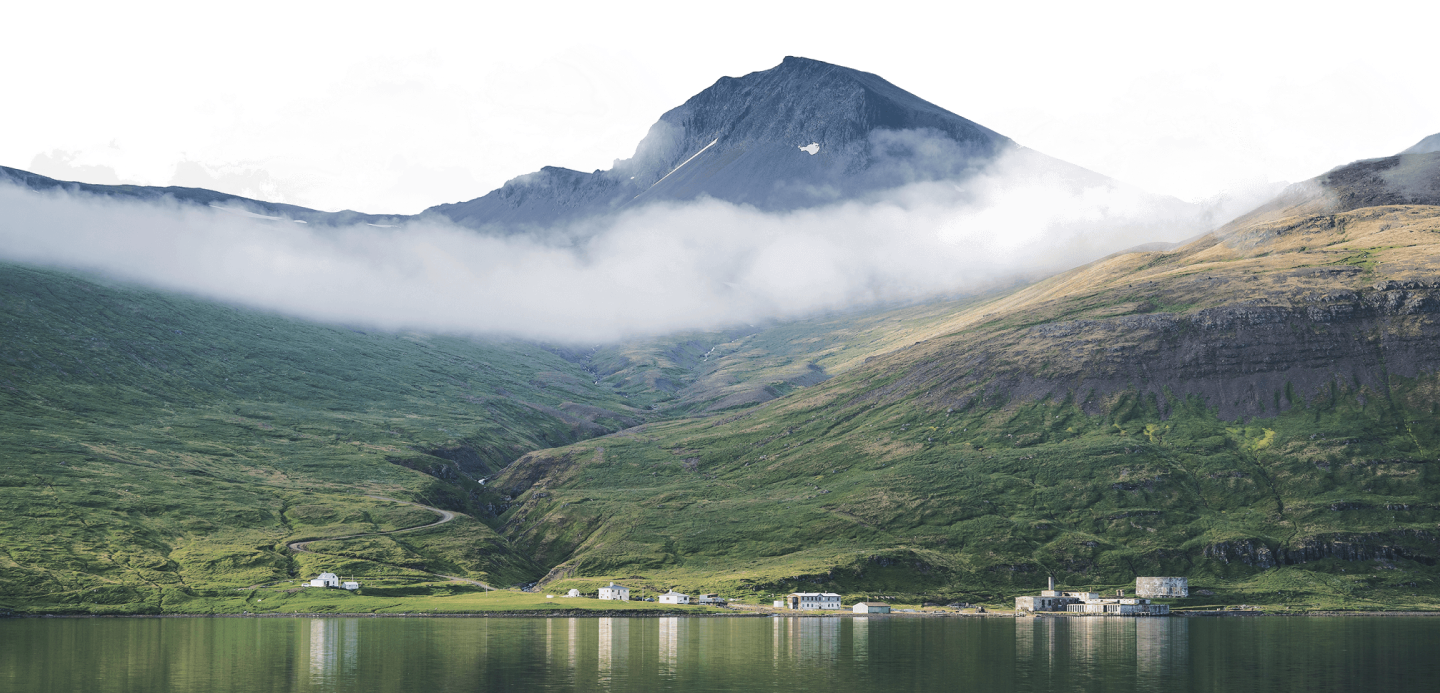
Before you can snap that pic you’ll need to find the Northern Lights. It’s best to travel outside of the city or town and head for places far away from the light pollution. Dark and clear skies are necessary to see and get some great shorts of the Northern Lights. Going with an experienced guide on a group or a private tour will help you located them quickly as they know all the best spots for Aurora viewing. The environment will also help with your composition. A photo of the lights in the sky is immediately more interesting if there is some contrast to it, perhaps a mountain or a waterfall, so be sure to keep an eye out for your surroundings too, even though it is tempting to just stare up at the magnificent display the whole time.
Gear and Technicalities
It kind of goes without saying that the better camera and gear you have, the better pictures you’ll be able to get. But even if you haven’t got professional equipment there are still certain settings you can set your camera to that will make a whole lot of difference.
Shutter speed is both incredibly important and a bit tricky to get right. Most experts recommend anywhere from 10 seconds to 25 seconds, depending on how fast the Aurora is moving, the faster the movement the quicker the shutter speed.
Now we need to focus. Use the widest aperture on your lens and make sure that auto focus is switched off, otherwise your camera will hunt back and forth for something to focus on. Adjust your focus by focusing on something solid in the distance.
Next is the ISO. Start with an ISO of 1200 but if that’s too dark increase it and vice versa. If you’re using a quicker shutter speed you might also need to increase your ISO to compensate.
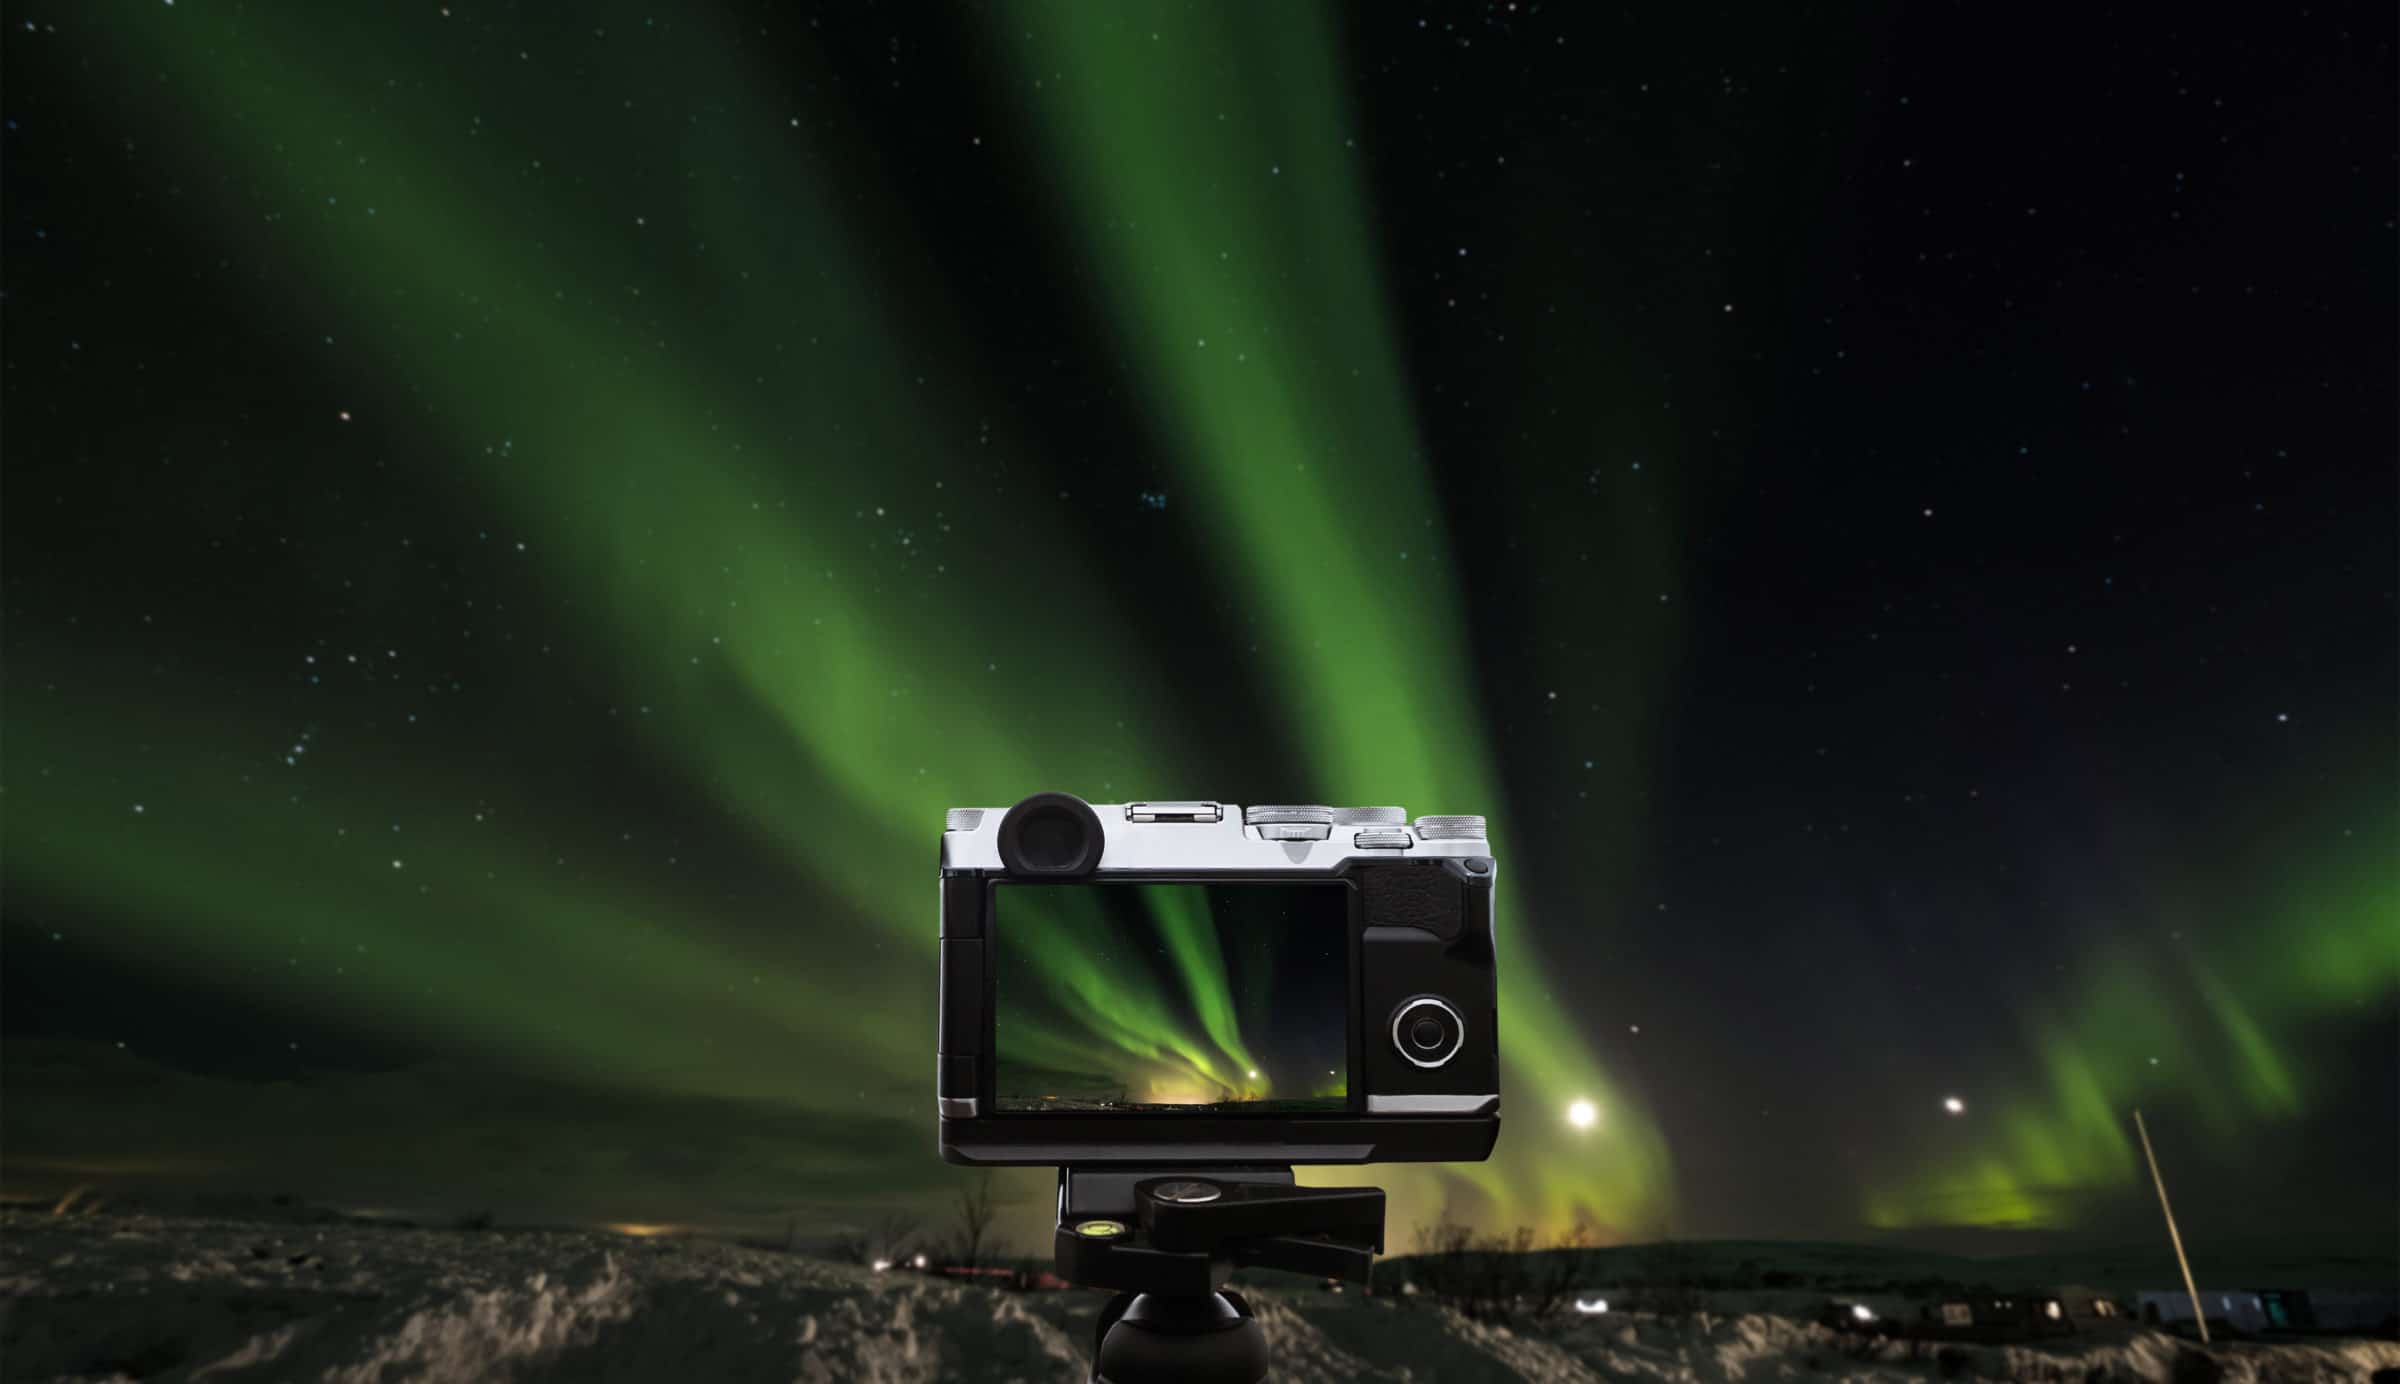
Using a Tripod might bee something to consider. Holding your breath and trying to keep still while trying to capture the stunning Northern Lights can be challenging. You don’t want your photo to be blurry so the tripod is a way to minimize that problem.
Using Your Phone
These days most people just use the camera on their smartphone for all their photographic needs and there’s nothing that says you can’t capture some awesome Northern Light pictures on your phone. Just keep these basic tips in mind:
- Keep your lens clean. Get rid of any smudges or condensation on your lens by wiping it with a micro-cloth.
- Turn off any apps running in the background that can use up precious CPU.
- Turn on airplane mode so your chance of getting the perfect shot won’t be ruined by a call or a text message.
- Try some of the built in presets like starry night, lightning and fireworks.
- Manual mode lets you adjust things like ISO and exposure. Although some phones, like the iPhone, don’t have a manual mode in the native camera app, there are plenty of photography apps you can download that offer manual controls.
- Turn up your ISO to 800. If the lights aren’t clear enough then turn up your ISO, but be careful not to increase it too much or you’ll get graininess.
- Try a 15-second exposure if the Northern Lights are quite still.
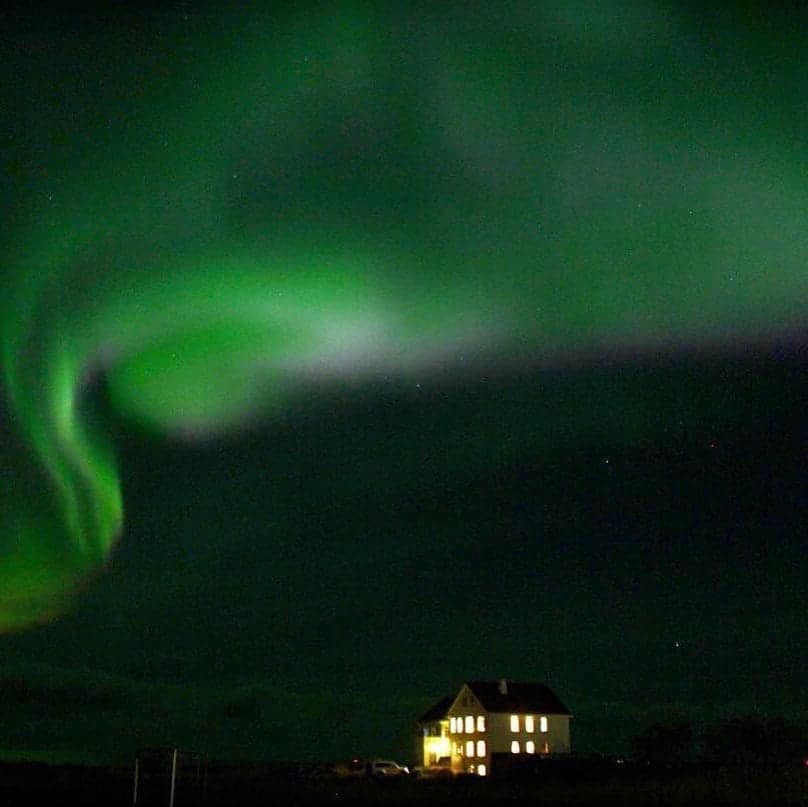
Here is an example of a stunning mobile photo of the Northern Lights taken by one of our staff members on an Iphone 7:
Want to learn more about photography in Iceland? Read our blog The 7 step guide to photography in Iceland here.